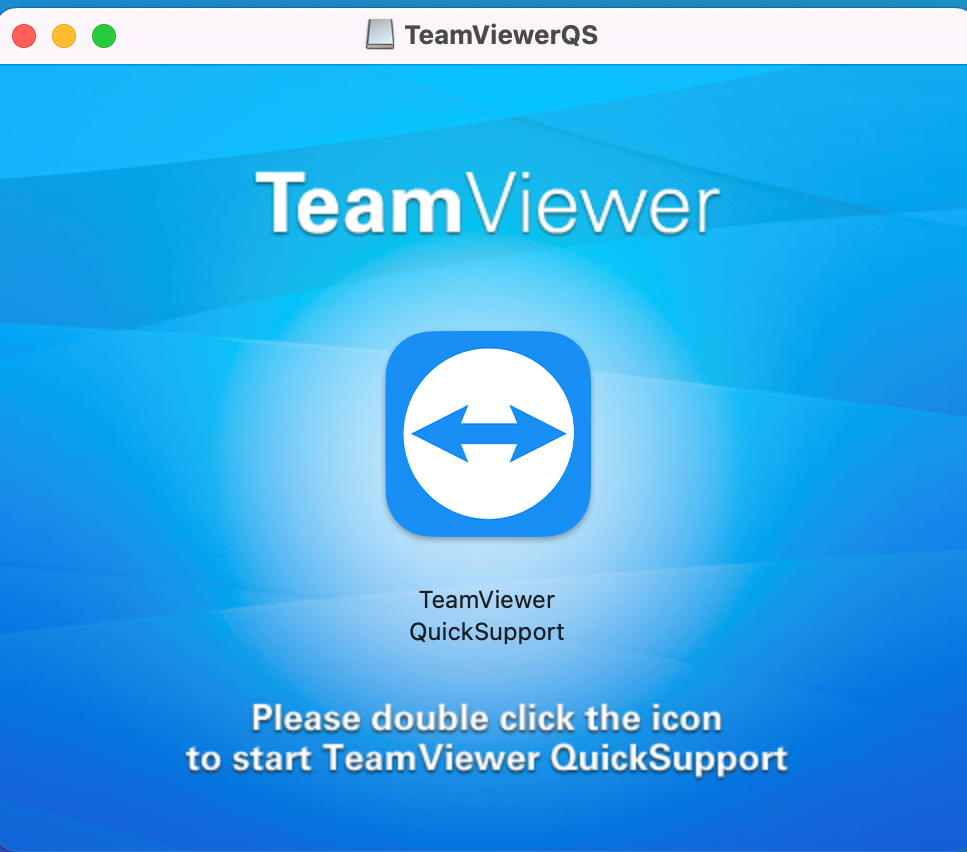
1. Please Download the QuickSupport client from the official website:
⮡ download.teamviewer.com/download/TeamViewerQS.dmg


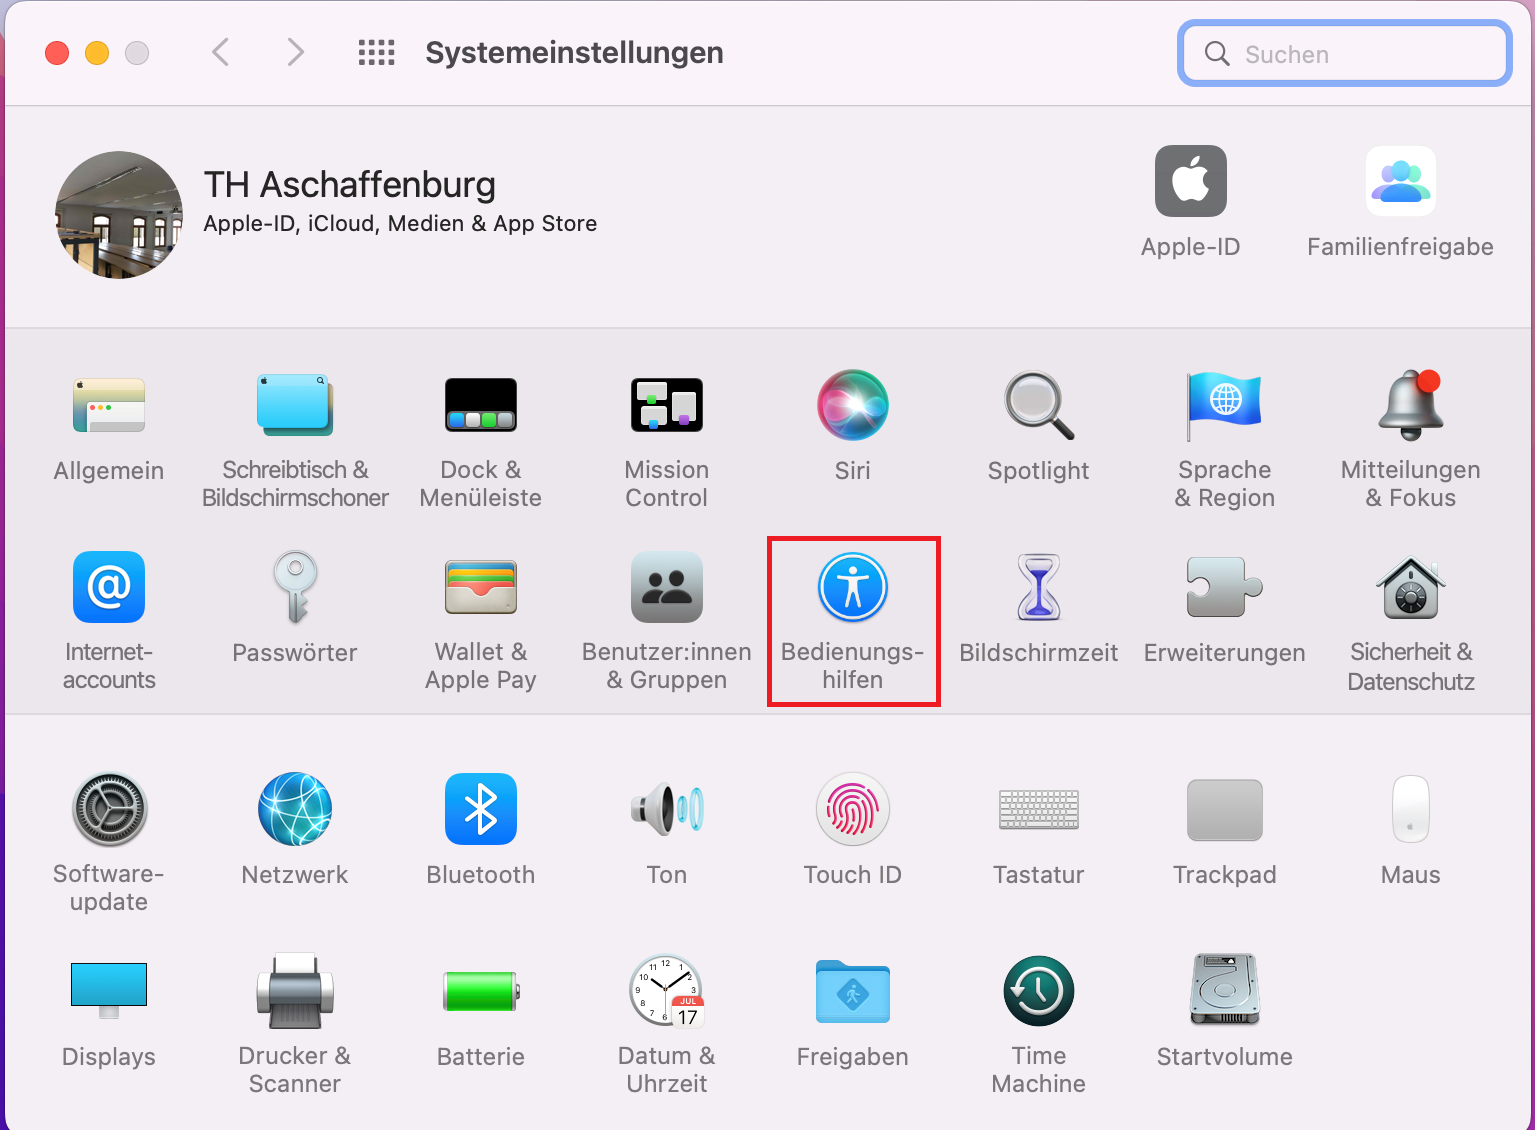
5. In the category "Accessibility". (here: Bedienungshilfe)

6. In the System Preferences, you need to click on the lock icon at the
bottom left (marked in red in the screenshot) to enable editing of the
settings.
2.
Follow the instructions on the screen after opening the downloaded file.
3.
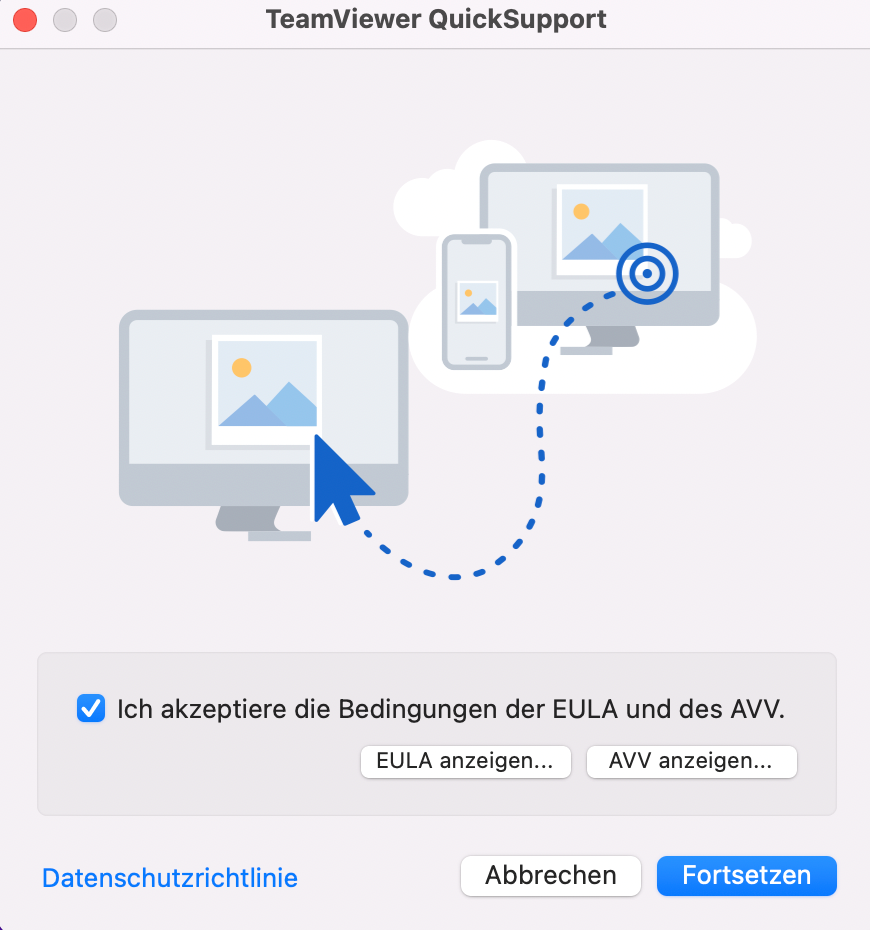
Once you have opened the application, confirm that you want to open it and then accept the EULA (End User License Agreement).
4.
At this point, you need to allow TeamViewer access to your screen and
control as an accessibility feature.
(Storage access is usually not needed)
5. In the category "Accessibility". (here: Bedienungshilfe)
⮡ Then, check the box next to "TeamViewer" and "TeamViewer
QuickSupport".
7. If a message appears, it can be ignored by clicking on "Later".
8. Finally, editing of system preferences can be stopped by clicking on the lock again.
9. In TeamViewer, the first two items should now be green, and by clicking "Close" you can proceed to the QuickSupport client. Provide "Your ID" and "Password" to the person who wants to access your computer.